The Raspberry Pi is a marvelous piece of hardware. Unfortunately the software rarely does what it's supposed to do right out-of-the-box. In the years I've spent hacking with Pi's, I've never been able to get the WiFi to work exactly how I want it to: until now.
Getting raspbian
Various methods exist to download, install, and configure a Raspberry Pi for operation. Today I installed Raspbian Buster Lite, the optimal raspbian image for creating a headless server with plenty of useful software packages installed by default. The latest image available right now is from July 2019, which throughout this article is a version with a known WiFi bug. For any other specific WiFi issues you may be dealing with, you will likely want to post a question on the Raspberry Pi StackExchange website. Many of the commands below will help you debug such situations.
sudo bash -c 'IMG=2019-07-10-raspbian-buster-lite.img; DEV=/dev/sdX; dd bs=4M if=$IMG of=$DEV conv=fsync'Warning: I am not responsible for any system/data corruption or loss as a result of running any commands below. In particular swapping out executables with older ones is intrinsically unsafe and may result in an unbootable sdcard that you need to re-flash to get working again.
First-time booting with raspi-config
The Raspbian developers were kind and benevolent enough to offer an all-in-one command-line tool for configuring some of the more common initial configuration values. Depending on your own personal setup style, you may want to make a backup of your own sdcard image after you've configured these settings to your liking. If you're configuring multiple pis with the same setup, you'll almost certainly want to wait to do this until you have a working prototype of the system configuration you want.Update the raspi-config tool
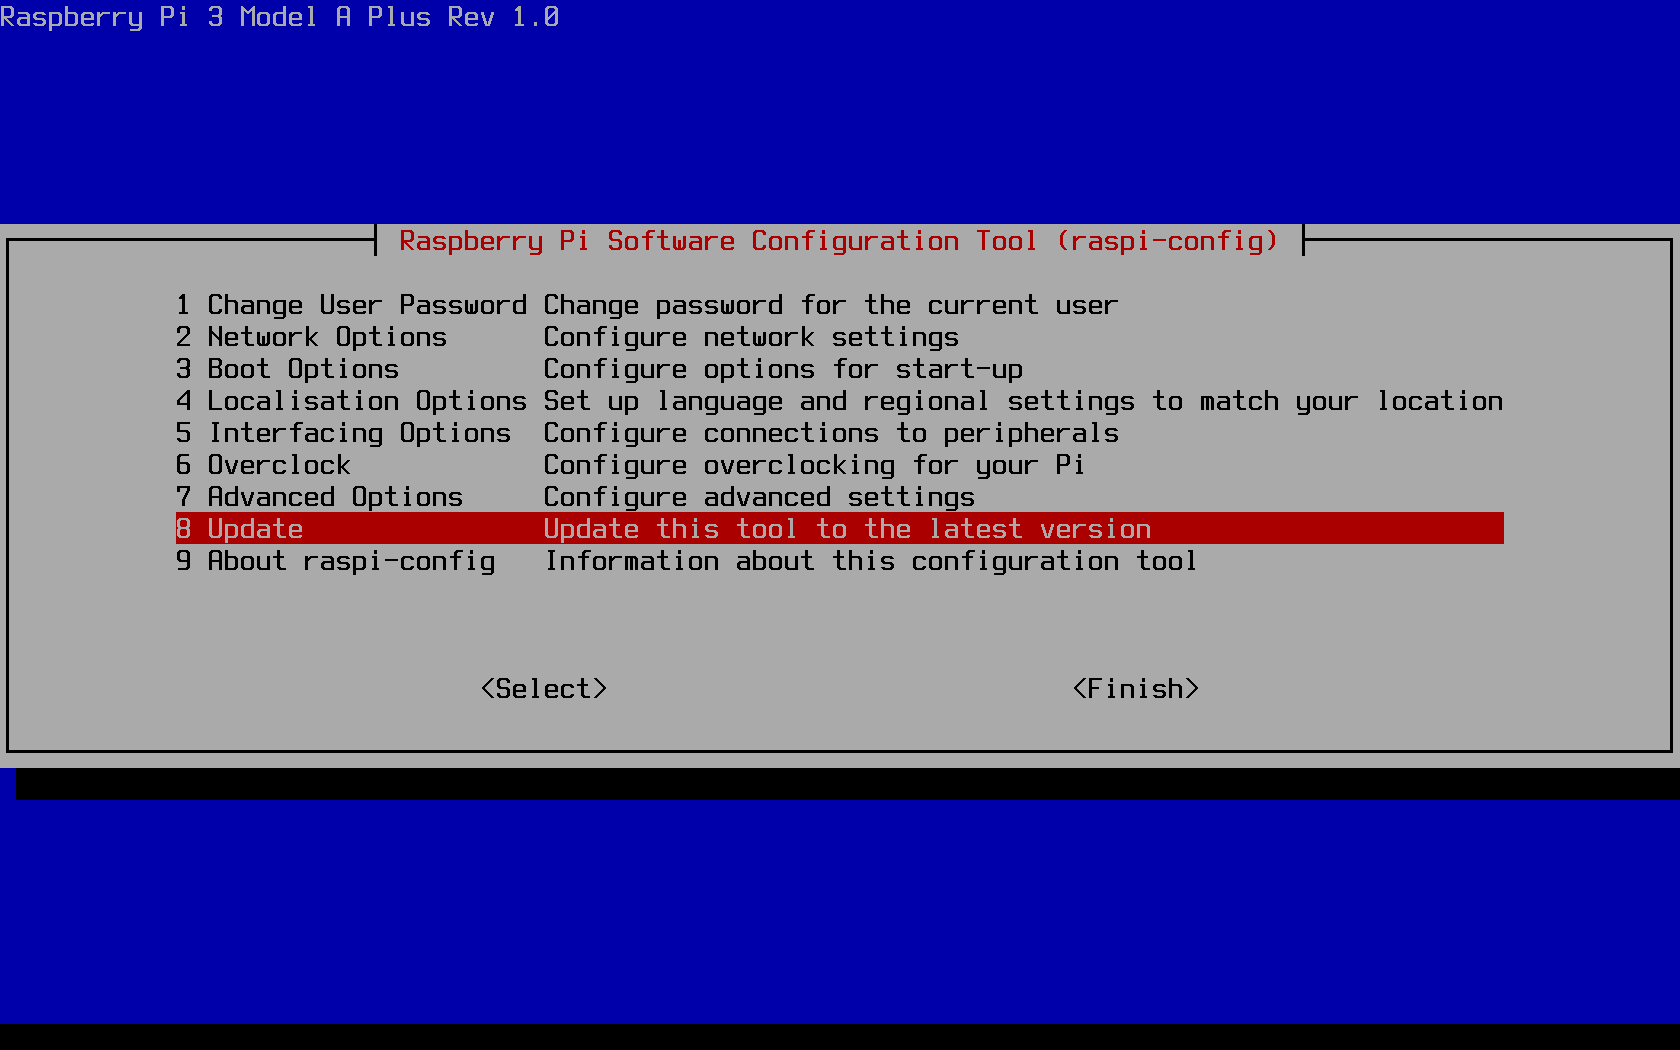
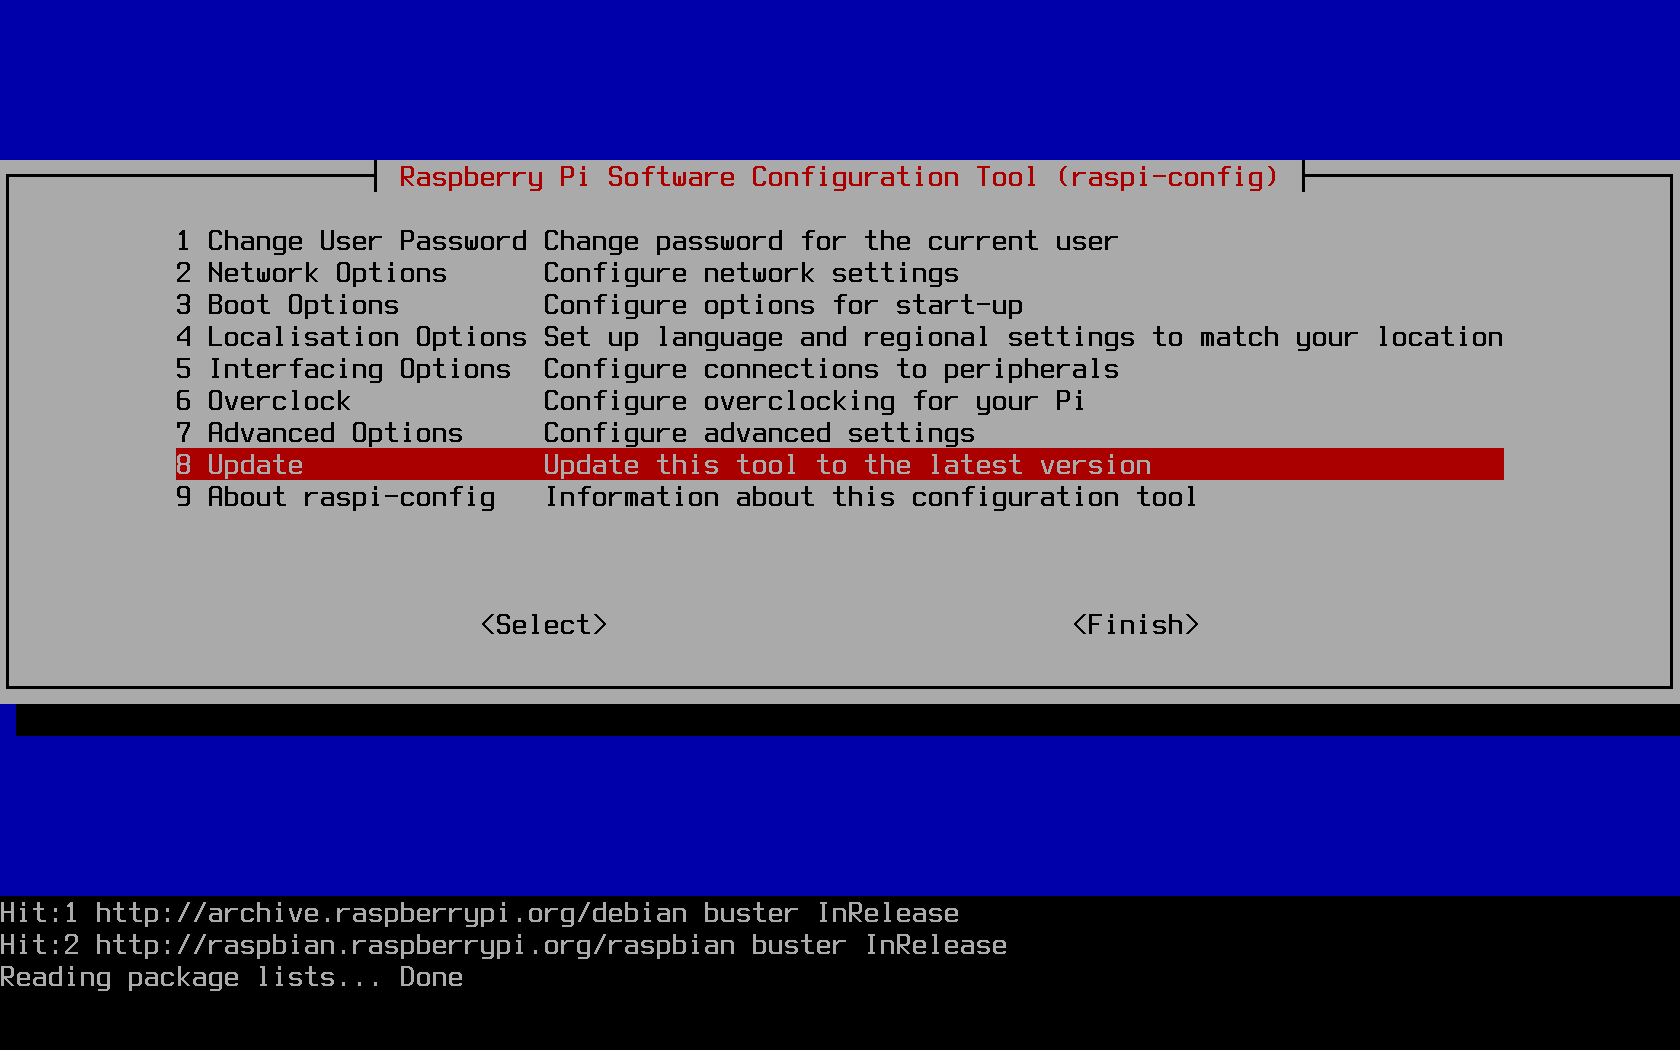
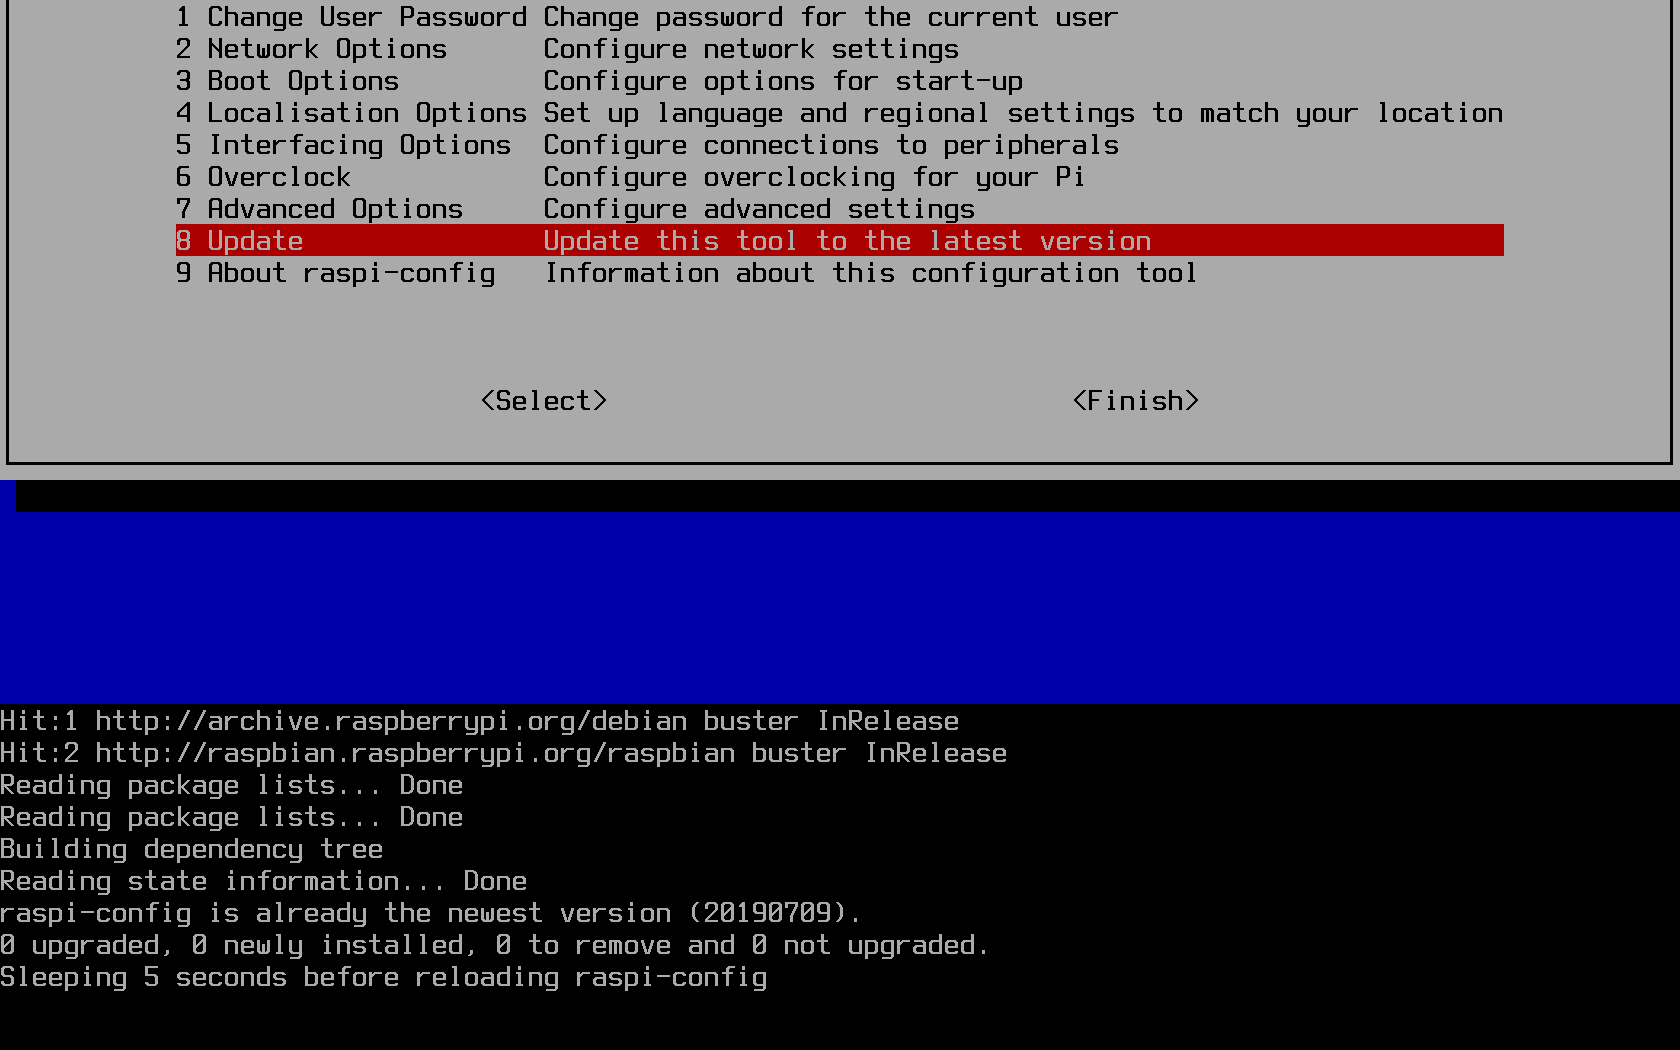
The configuration tool is a standalone one which comes preinstalled on Raspbian images, but is also controlled byapt. The standard way of
updating the tool, however, is directly through the tool itself:
Change the default password
If your raspberry pi will be in a location accessible by other people, or will otherwise be SSH accessible with a password, then you must change the default password. While you still have to worry about cold-boot attacks on your Pi, where an attacker can gain physical access to your Pi while it is turned off, a new password is absolutely necessary. Do so through the raspi-config tool, which is conveniently the first option: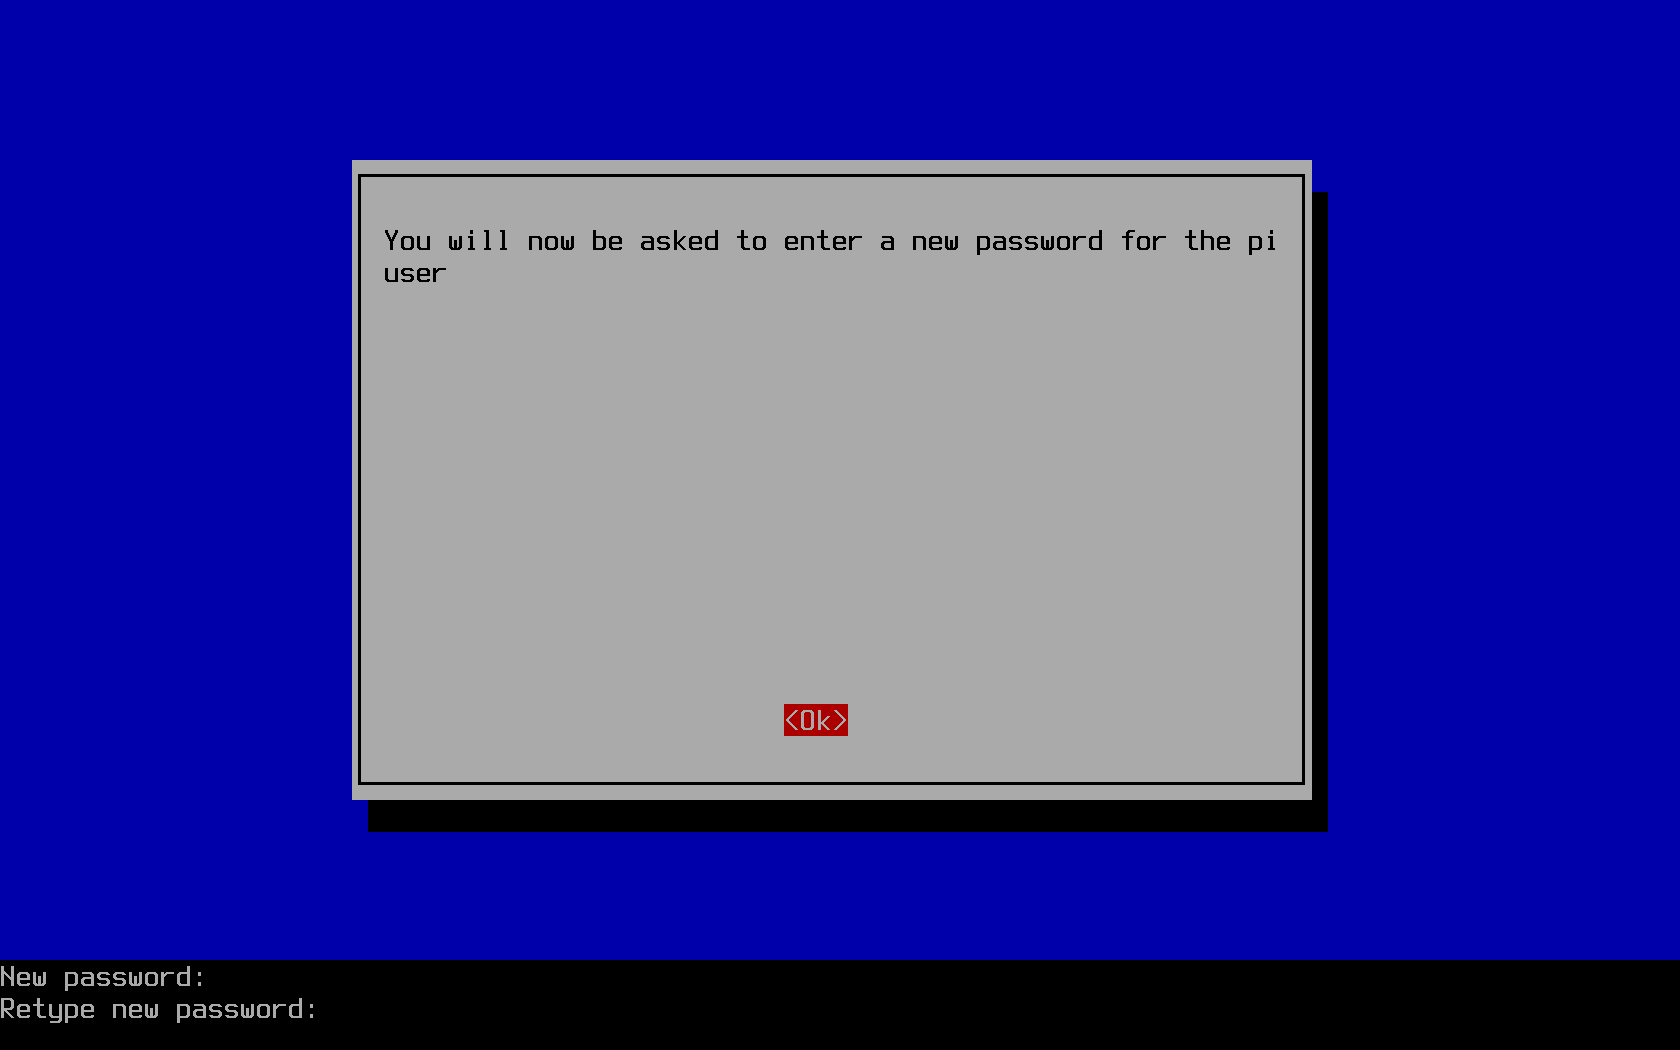
Localisation options
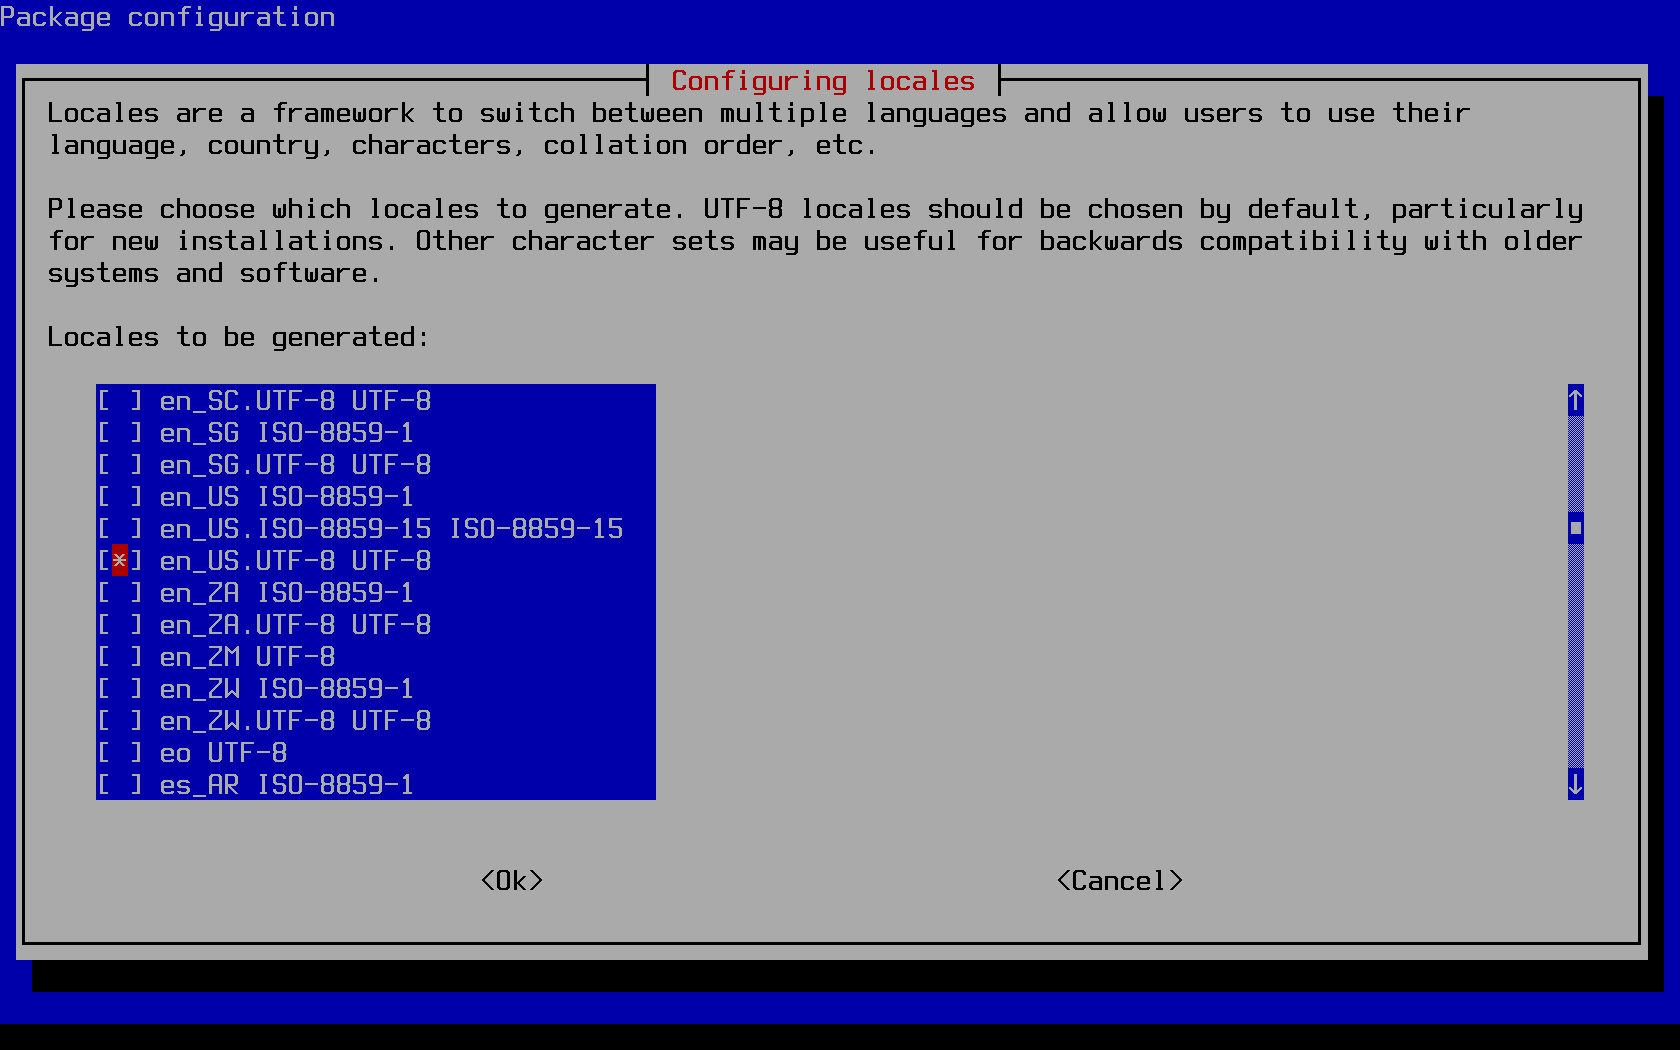
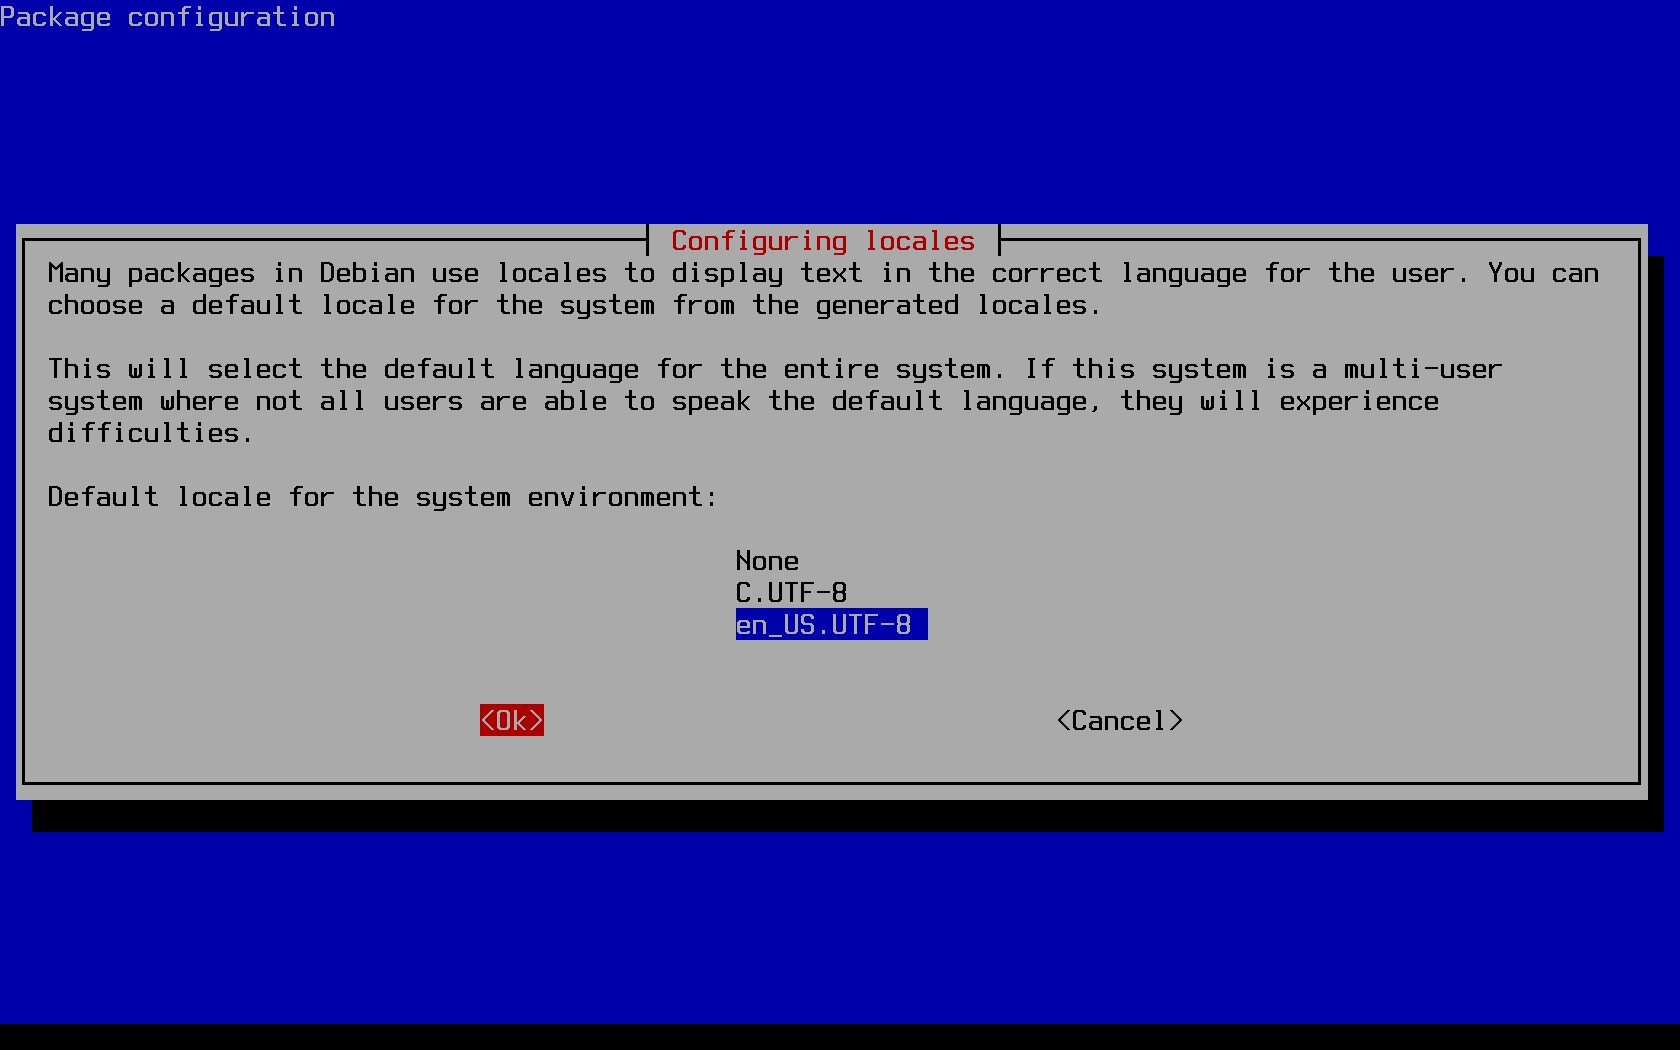
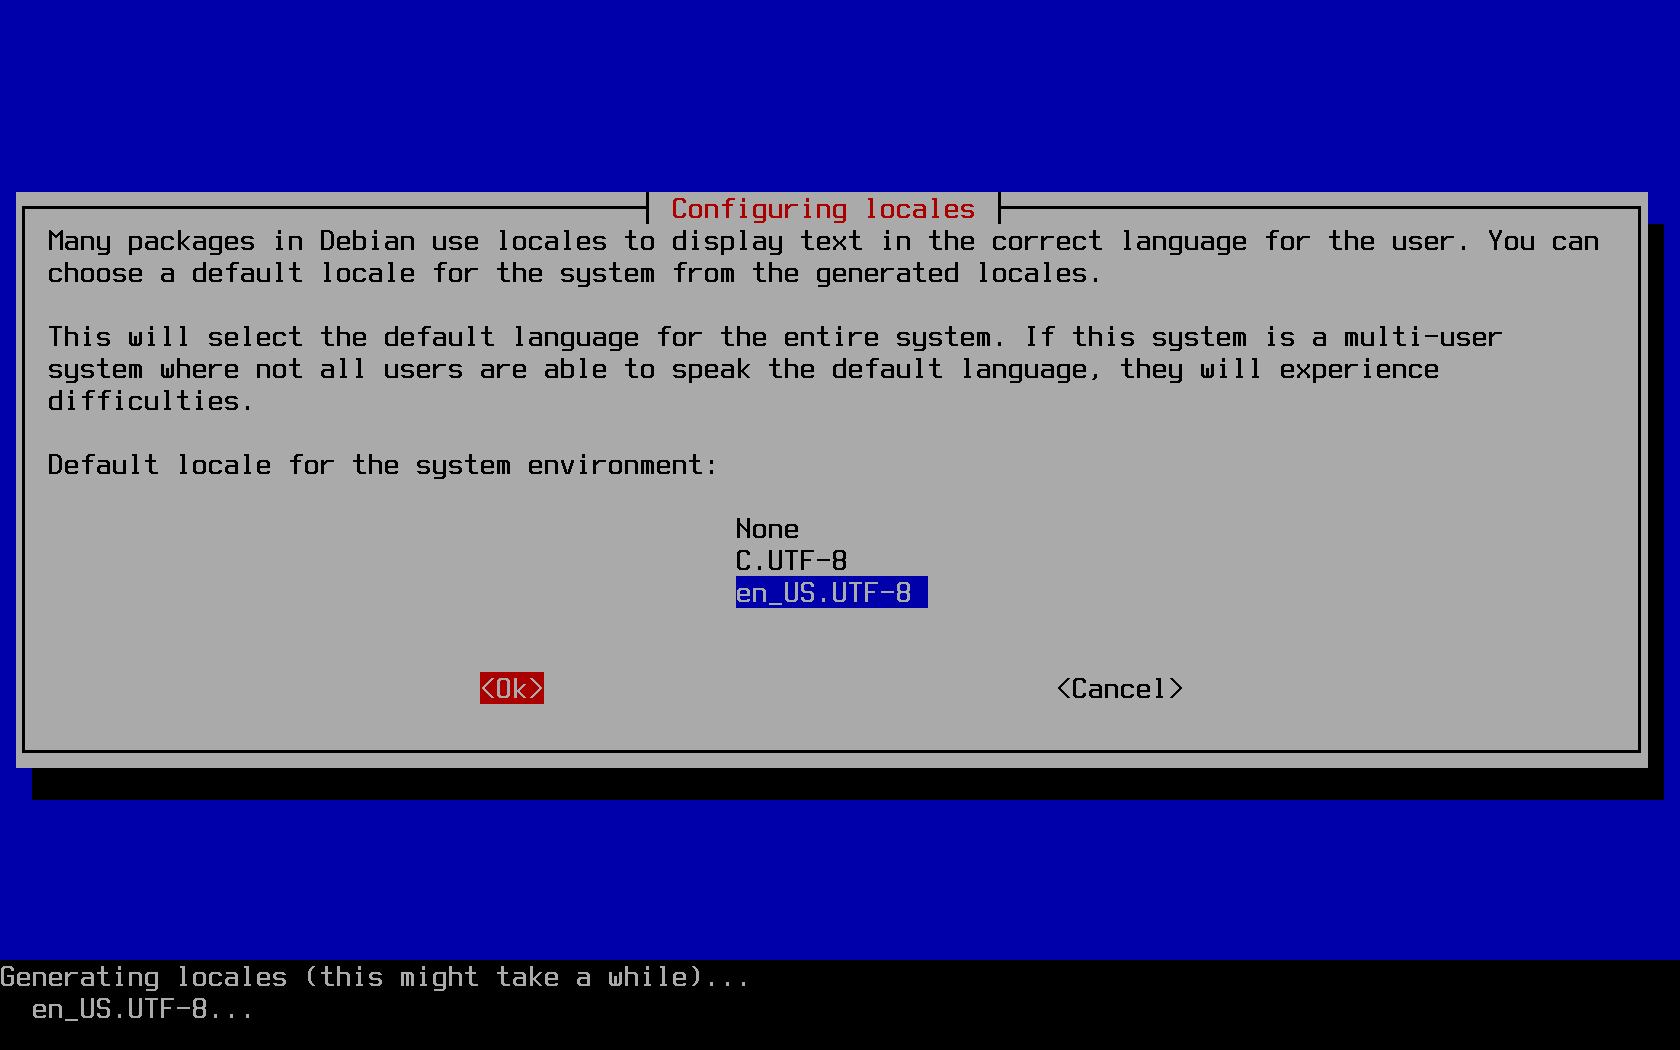
Raspbian by default uses the locale of the UK, meaning in other settings (Pi users outside of the United Kingdom of Great Britain and Ireland) you may run into issues at the terminal or when developing an application outside of that country. To change this, follow the prompts in the raspi-config tool to update your locale: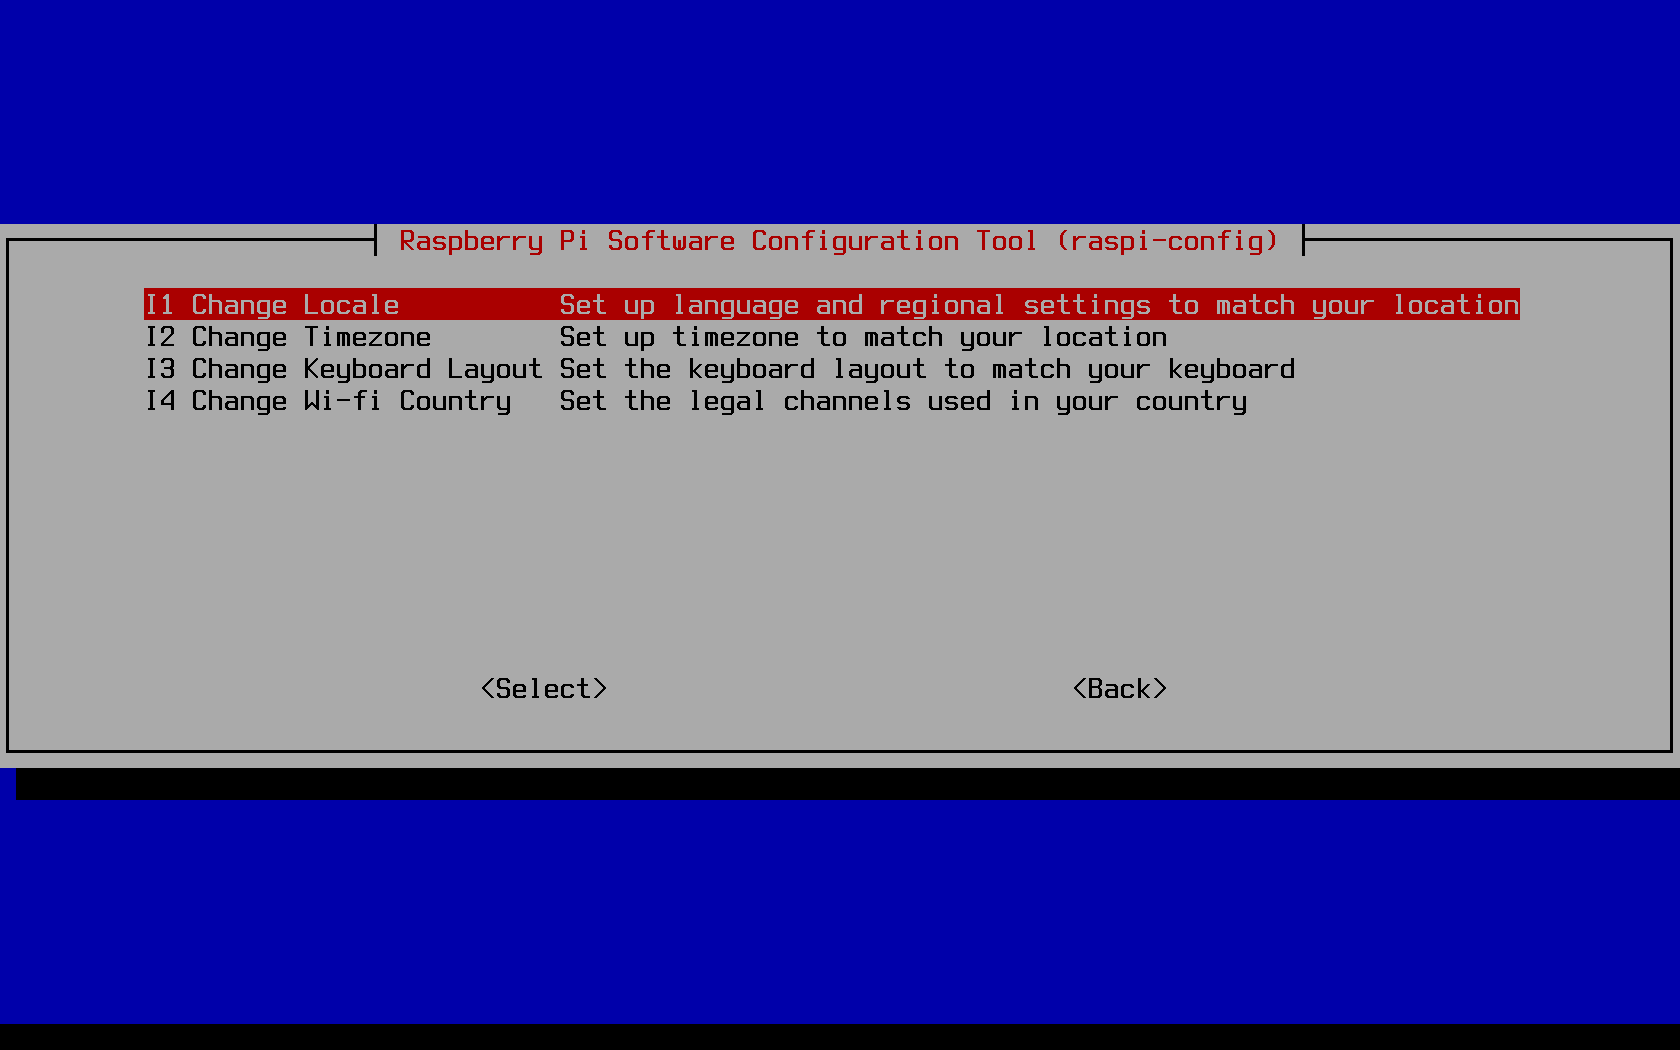
Enabling the camera module
Whether you plan to use your Pi as a time-lapse device, a home security solution, or even as a dash cam in a car, you'll need to enable the camera module in the raspi-config tool: If this is the case for you, you'll be needing to get the camera module separately from
someplace like Micro Center,
assuming of course you didn't splurge on one of those raspberry pi kits that get invariably marked up.
Or just wait for an Amazon flash deal - I got a handful of my V2 pi camera modules for under $20
on Amazon compared to the current $25 at Micro Center, $30 at adafruit, or regular $25 price on amazon. YMMV.
Enabling SSH on boot
Surprisingly enabling SSH on boot does not fall under raspi-config's "Boot Options" menu. I fall for this every time. Every. Time. Nor is it under "Network Options." Go figure. Well instead just scroll on down to "Interfacing Options" to enable you Pi for SSH access. I don't particularly consider my laptop to be a "peripheral connection", but I guess the Pi is the center of the universe so the shoe definitely fits.
Remember, only enable this option if you've changed the default password. Once you've done so, it is also advantageous to use SSH keys to get onto your Pi instead of having to remember a password, especially if you'll always be accessing the Pi from the same laptop or desktop machine. To do so, you'll want to first enable SSH access with password access, and then reboot the machine. Upon rebooting, SSH in from your separate machine. If you've successfully setup WiFi or ethernet access to your Pi, you can discover its IP address to SSH to in a variety of ways.
The easiest and most straightforward way is to (1), after booting the Pi, read the IP address the login terminal prints out for you. This assumes you have the Pi plugged into a monitor through the HDMI (or mini-hdmi) port. Alternatively if you don't want to reboot the machine and you've already enabled SSH access, you can instead run the following to discover your IP address:
lo: flags=73<UP,LOOPBACK,RUNNING>  mtu 65536
        inet 127.0.0.1  netmask 255.0.0.0
        inet6 ::1  prefixlen 128  scopeid 0x10<host>
        loop  txqueuelen 1000  (Local Loopback)
        RX packets 0  bytes 0 (0.0 B)
        RX errors 0  dropped 0  overruns 0  frame 0
        TX packets 0  bytes 0 (0.0 B)
        TX errors 0  dropped 0 overruns 0  carrier 0  collisions 0

wlan0: flags=4163<UP,BROADCAST,RUNNING,MULTICAST>  mtu 1500
        inet 10.247.140.16  netmask 255.255.254.0  broadcast 10.247.141.255
        inet6 fe80::9066:15ff:6675:ba7b  prefixlen 64  scopeid 0x20<link>
        ether b8:27:eb:6b:4f:a0  txqueuelen 1000  (Ethernet)
        RX packets 17433  bytes 20665033 (19.7 MiB)
        RX errors 0  dropped 0  overruns 0  frame 0
        TX packets 7485  bytes 907146 (885.8 KiB)
        TX errors 0  dropped 0 overruns 0  carrier 0  collisions 0
My IP address can be found above in lime green to be 10.247.140.16. WiFi network-depending, you should be able to SSH directly that IP address from your laptop connected to the same network, or desktop connected by ethernet to the router through which that network exists. Once you've confirmed you can remotely login, you'll want to run the following commands from your laptop:
ssh-keygen && ssh-copy-id pi@10.247.140.16
Generating public/private rsa key pair.
Enter file in which to save the key (/home/user/.ssh/id_rsa):
Enter passphrase (empty for no passphrase):
Enter same passphrase again:
Your identification has been saved in /home/user/.ssh/id_rsa.
Your public key has been saved in /home/user/.ssh/id_rsa.pub.
The key fingerprint is:
SHA256:/WC5T4C5ba8+xvG6UPooA0yiKPbBrGanpwrMYGHCTh0 user@laptop
The key's randomart image is:
+---[RSA 3072]----+
|   E             |
|. . .            |
|.= .             |
|= o .    + .     |
|o+o+    S B      |
|O. +o    *.=     |
|+oo ..  +.+oo    |
|.+ +  o  =++.    |
|=o=    o.o*=o    |
+----[SHA256]-----+

Number of key(s) added: 1

Now try logging into the machine, with:   "ssh 'pi@10.247.140.16'"
and check to make sure that only the key(s) you wanted were added.
On success you will see an RSA image printed to the prompt, and that 1 key has been "added" (transmitted) to the raspberry pi.
● ssh.service - OpenBSD Secure Shell server
   Loaded: loaded (/lib/systemd/system/ssh.service; enabled; vendor preset: enabled)
   Active: active (running) since Tue 2019-07-26 13:08:19 EDT; 22s ago
     Docs: man:sshd(8)
           man:sshd_config(5)
  Process: 4628 ExecStartPre=/usr/sbin/sshd -t (code=exited, status=0/SUCCESS)
 Main PID: 4629 (sshd)
    Tasks: 1 (limit: 860)
   Memory: 1.0M
   CGroup: /system.slice/ssh.service
           └─4629 /usr/sbin/sshd -D

Jul 26 13:08:19 raspberrypi systemd[1]: Starting OpenBSD Secure Shell server...
Jul 26 13:08:19 raspberrypi sshd[4629]: Server listening on 0.0.0.0 port 22.
Jul 26 13:08:19 raspberrypi sshd[4629]: Server listening on :: port 22.
Jul 26 13:08:19 raspberrypi systemd[1]: Started OpenBSD Secure Shell server.
Fixing the system time
Raspberry pis do not come with an onboard CR2032 battery, as would often be the case with modern motherboards for desktop and laptops. As a result, the Pi will not keep track of time inbetween boots. Each time the Pi boots, it by default attempts to synchronize the system time with available NTP servers. By default these appear to be:0.debian.pool.ntp.org
1.debian.pool.ntp.org
2.debian.pool.ntp.org
3.debian.pool.ntp.org/etc/systemd/timesyncd.conf,
which is managed by the system daemon tool.
The nice thing about timesyncd is that it saves the current time to disk each time it synchronizes
with an NTP server, allowing systems like the Raspberry Pi to use a time prior to the most recent
shutdown / power-loss of the system, ensuring time only every increases even if that time is slightly out-of-date
before the daemon can connect to an NTP server.
If you edit the timesyncd.conf file, then you'll need to reload the systemd daemon
and subsequently restart the timesync daemon before the modifications you've made take affect:
sudo su
systemctl daemon-reload
systemctl restart systemd-timesyncd
systemctl status systemd-timesyncd● systemd-timesyncd.service - Network Time Synchronization Loaded: loaded (/lib/systemd/system/systemd-timesyncd.service; disabled; vendor preset: enabled) Drop-In: /lib/systemd/system/systemd-timesyncd.service.d └─disable-with-time-daemon.conf Active: active (running) since Sat 2019-07-25 18:38:25 EDT; 2 days ago Docs: man:systemd-timesyncd.service(8) Main PID: 755 (systemd-timesyn) Status: "Synchronized to time server for the first time 45.79.1.70:123 (0.debian.pool.ntp.org)." Tasks: 2 (limit: 860) Memory: 1.0M CGroup: /system.slice/systemd-timesyncd.service └─755 /lib/systemd/systemd-timesyncd Jul 25 18:38:25 raspberrypi systemd[1]: Starting Network Time Synchronization... Jul 25 18:38:25 raspberrypi systemd[1]: Started Network Time Synchronization. Jul 26 12:13:43 raspberrypi systemd-timesyncd[755]: Synchronized to time server for the first time 45.79.1.70:123 (0.debian.pool.ntp.org).In the above output we see the time on the system had been set to July 25th at around 18:00, but then the NTP server was contacted and the time was updated to by July 26th at around noon, the correct time.
Fixing out-of-date debian server release file
Having setup WiFi on a standard WPA network, and having run all the appropriate raspi-config
setup commands, I could now update the software on the Pi to the latest versions available
in the Raspbian repositories. To do so we use the debian-based tool apt
for managing software on the system. However, when I first tried
updating the system software, I had not yet managed to properly configure the time on my system.
In fact, a confluence of DNS issues on the WiFi network I was connected to along with
out-of-date software on the Pi was precluding me from being able
to update the software package list on my Pi.
Get:1 http://archive.raspberrypi.org/debian buster InRelease [25.1 kB]
Get:2 http://raspbian.raspberrypi.org/raspbian buster InRelease [15.0 kB]
Reading package lists...
E: Release file for http://archive.raspberrypi.org/debian/dists/buster/InRelease is not valid yet (invalid for another 23d 22h 31min 29s). Updates for this repository will not be applied.
E: Release file for http://raspbian.raspberrypi.org/raspbian/dists/buster/InRelease is not valid yet (invalid for another 23d 18h 45min 27s). Updates for this repository will not be applied.
The irony was not lost me. Perhaps some other network configuration might work though. What were my options? Well, (1) I could go find the USB-ethernet adaptor I seem to own for no apparent reason except for this exact moment. It's one of those little devices that looks like the following:
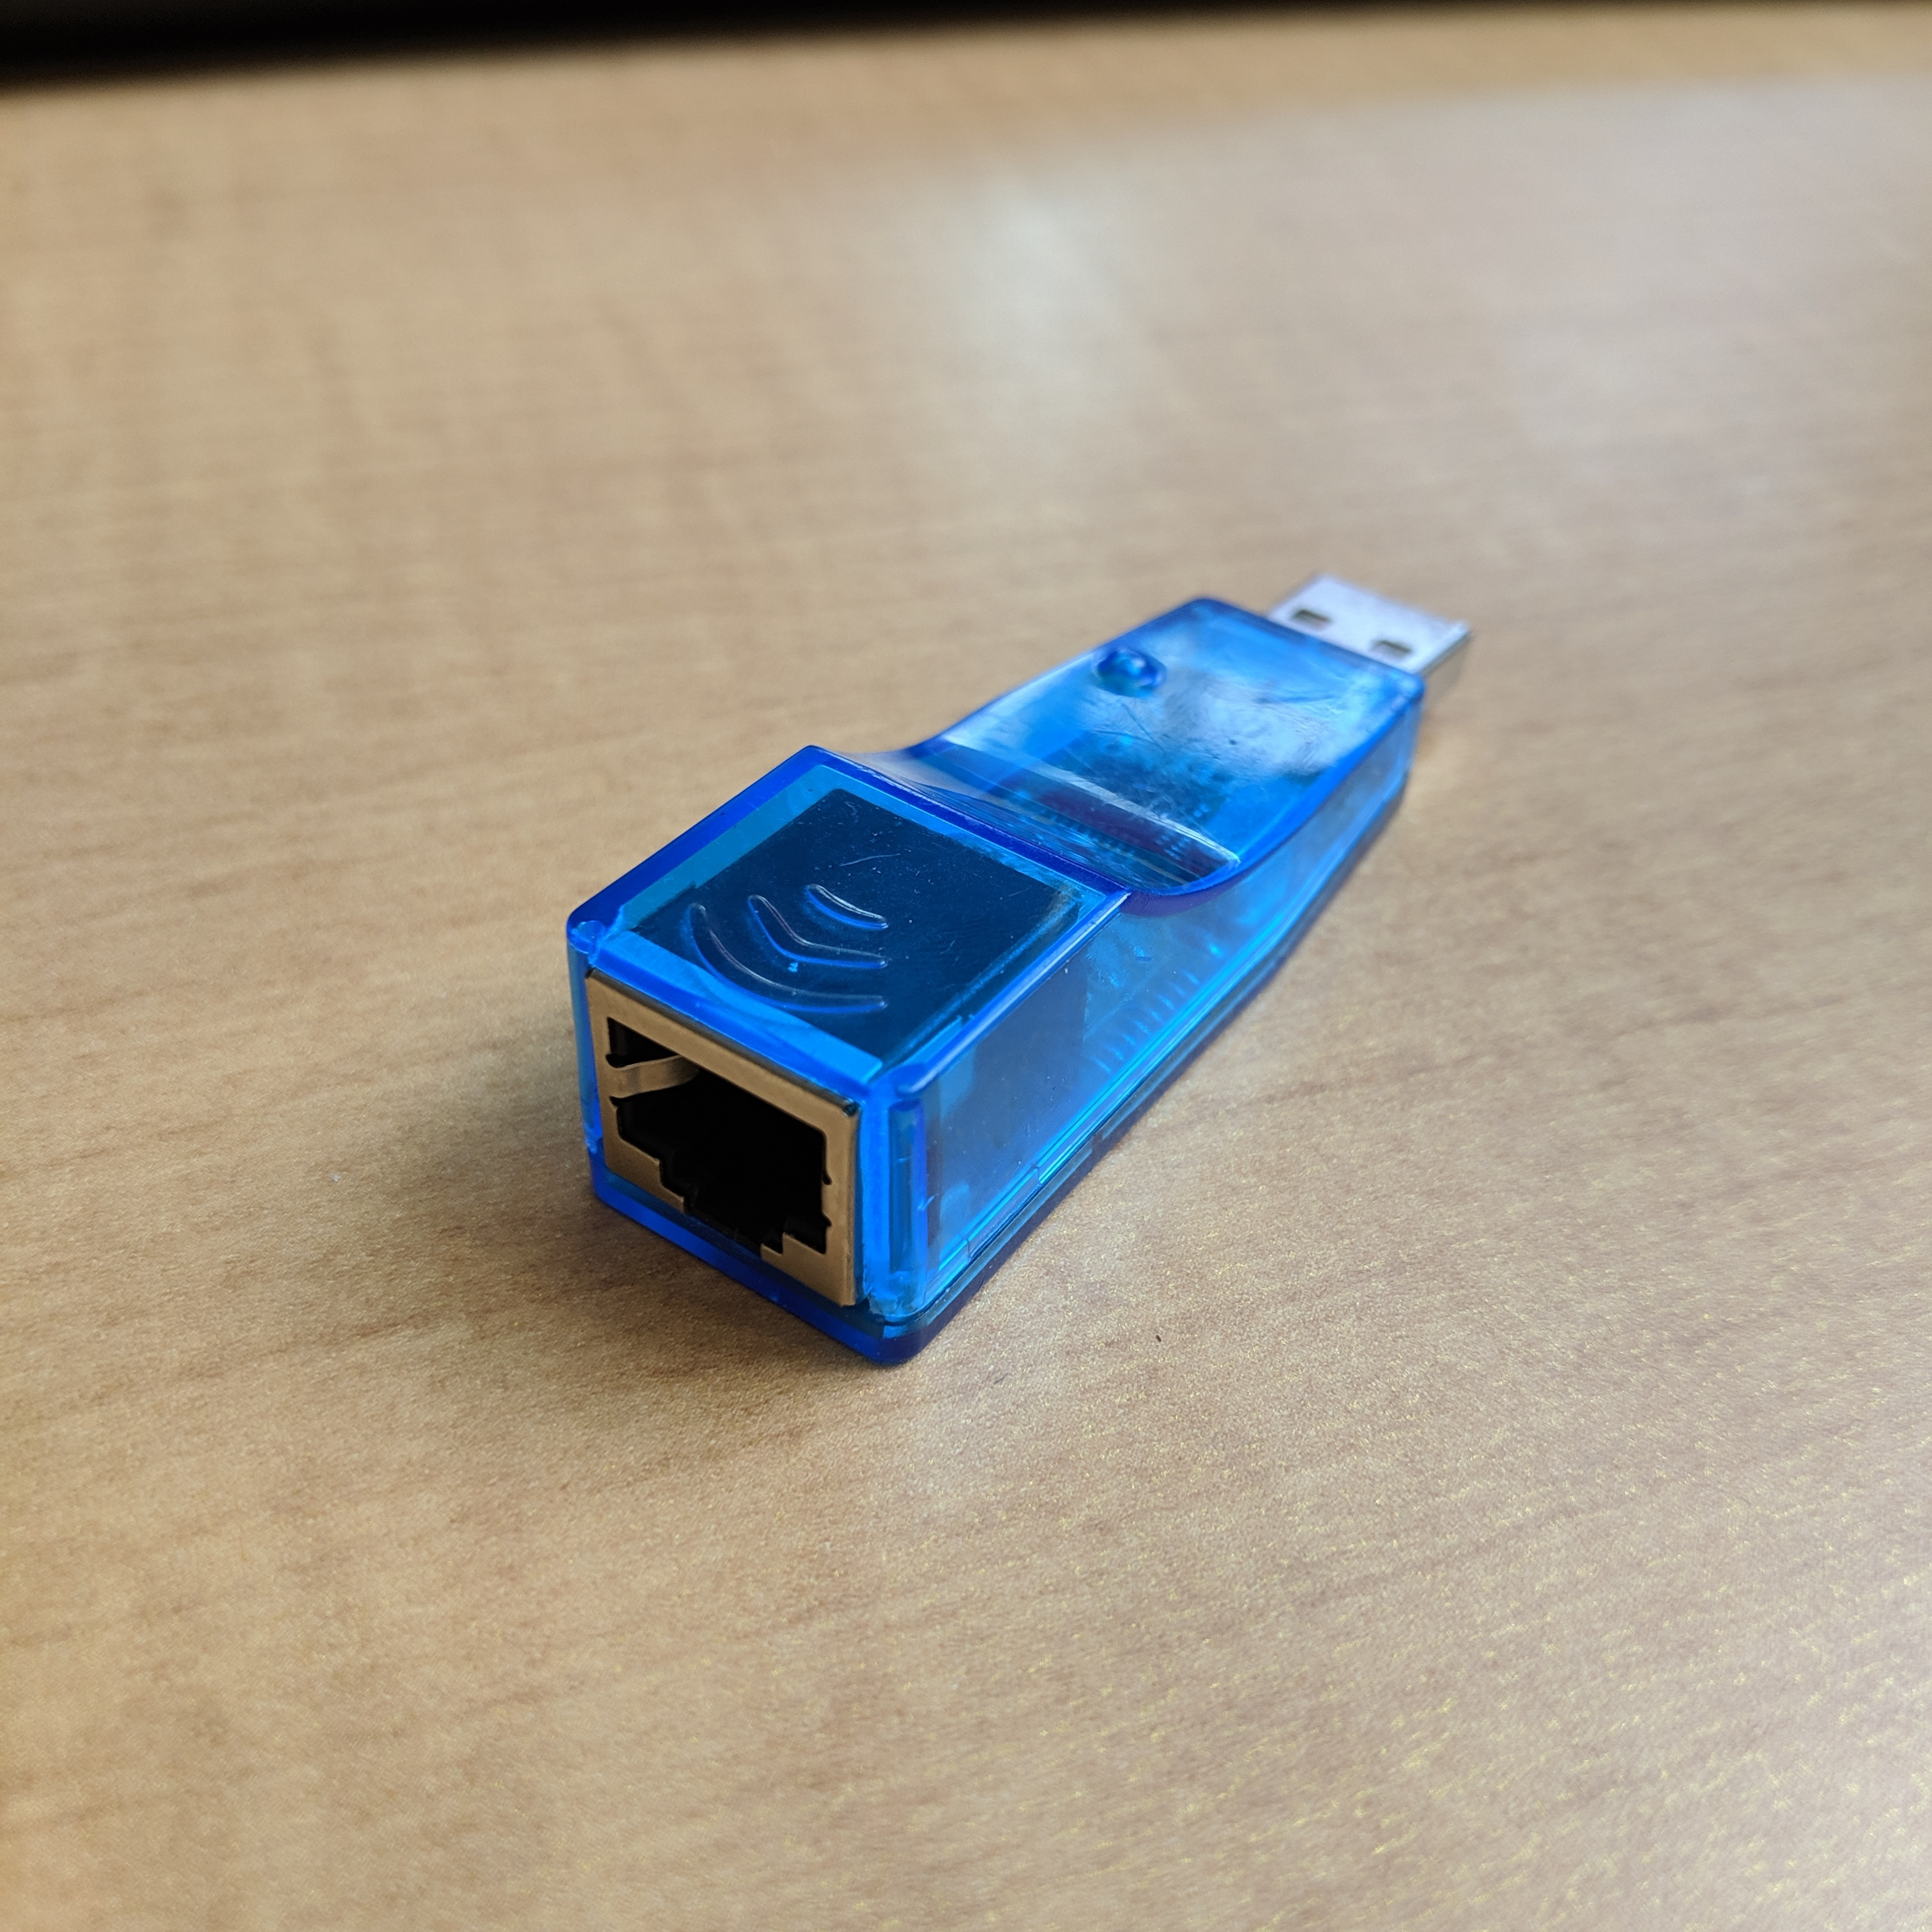
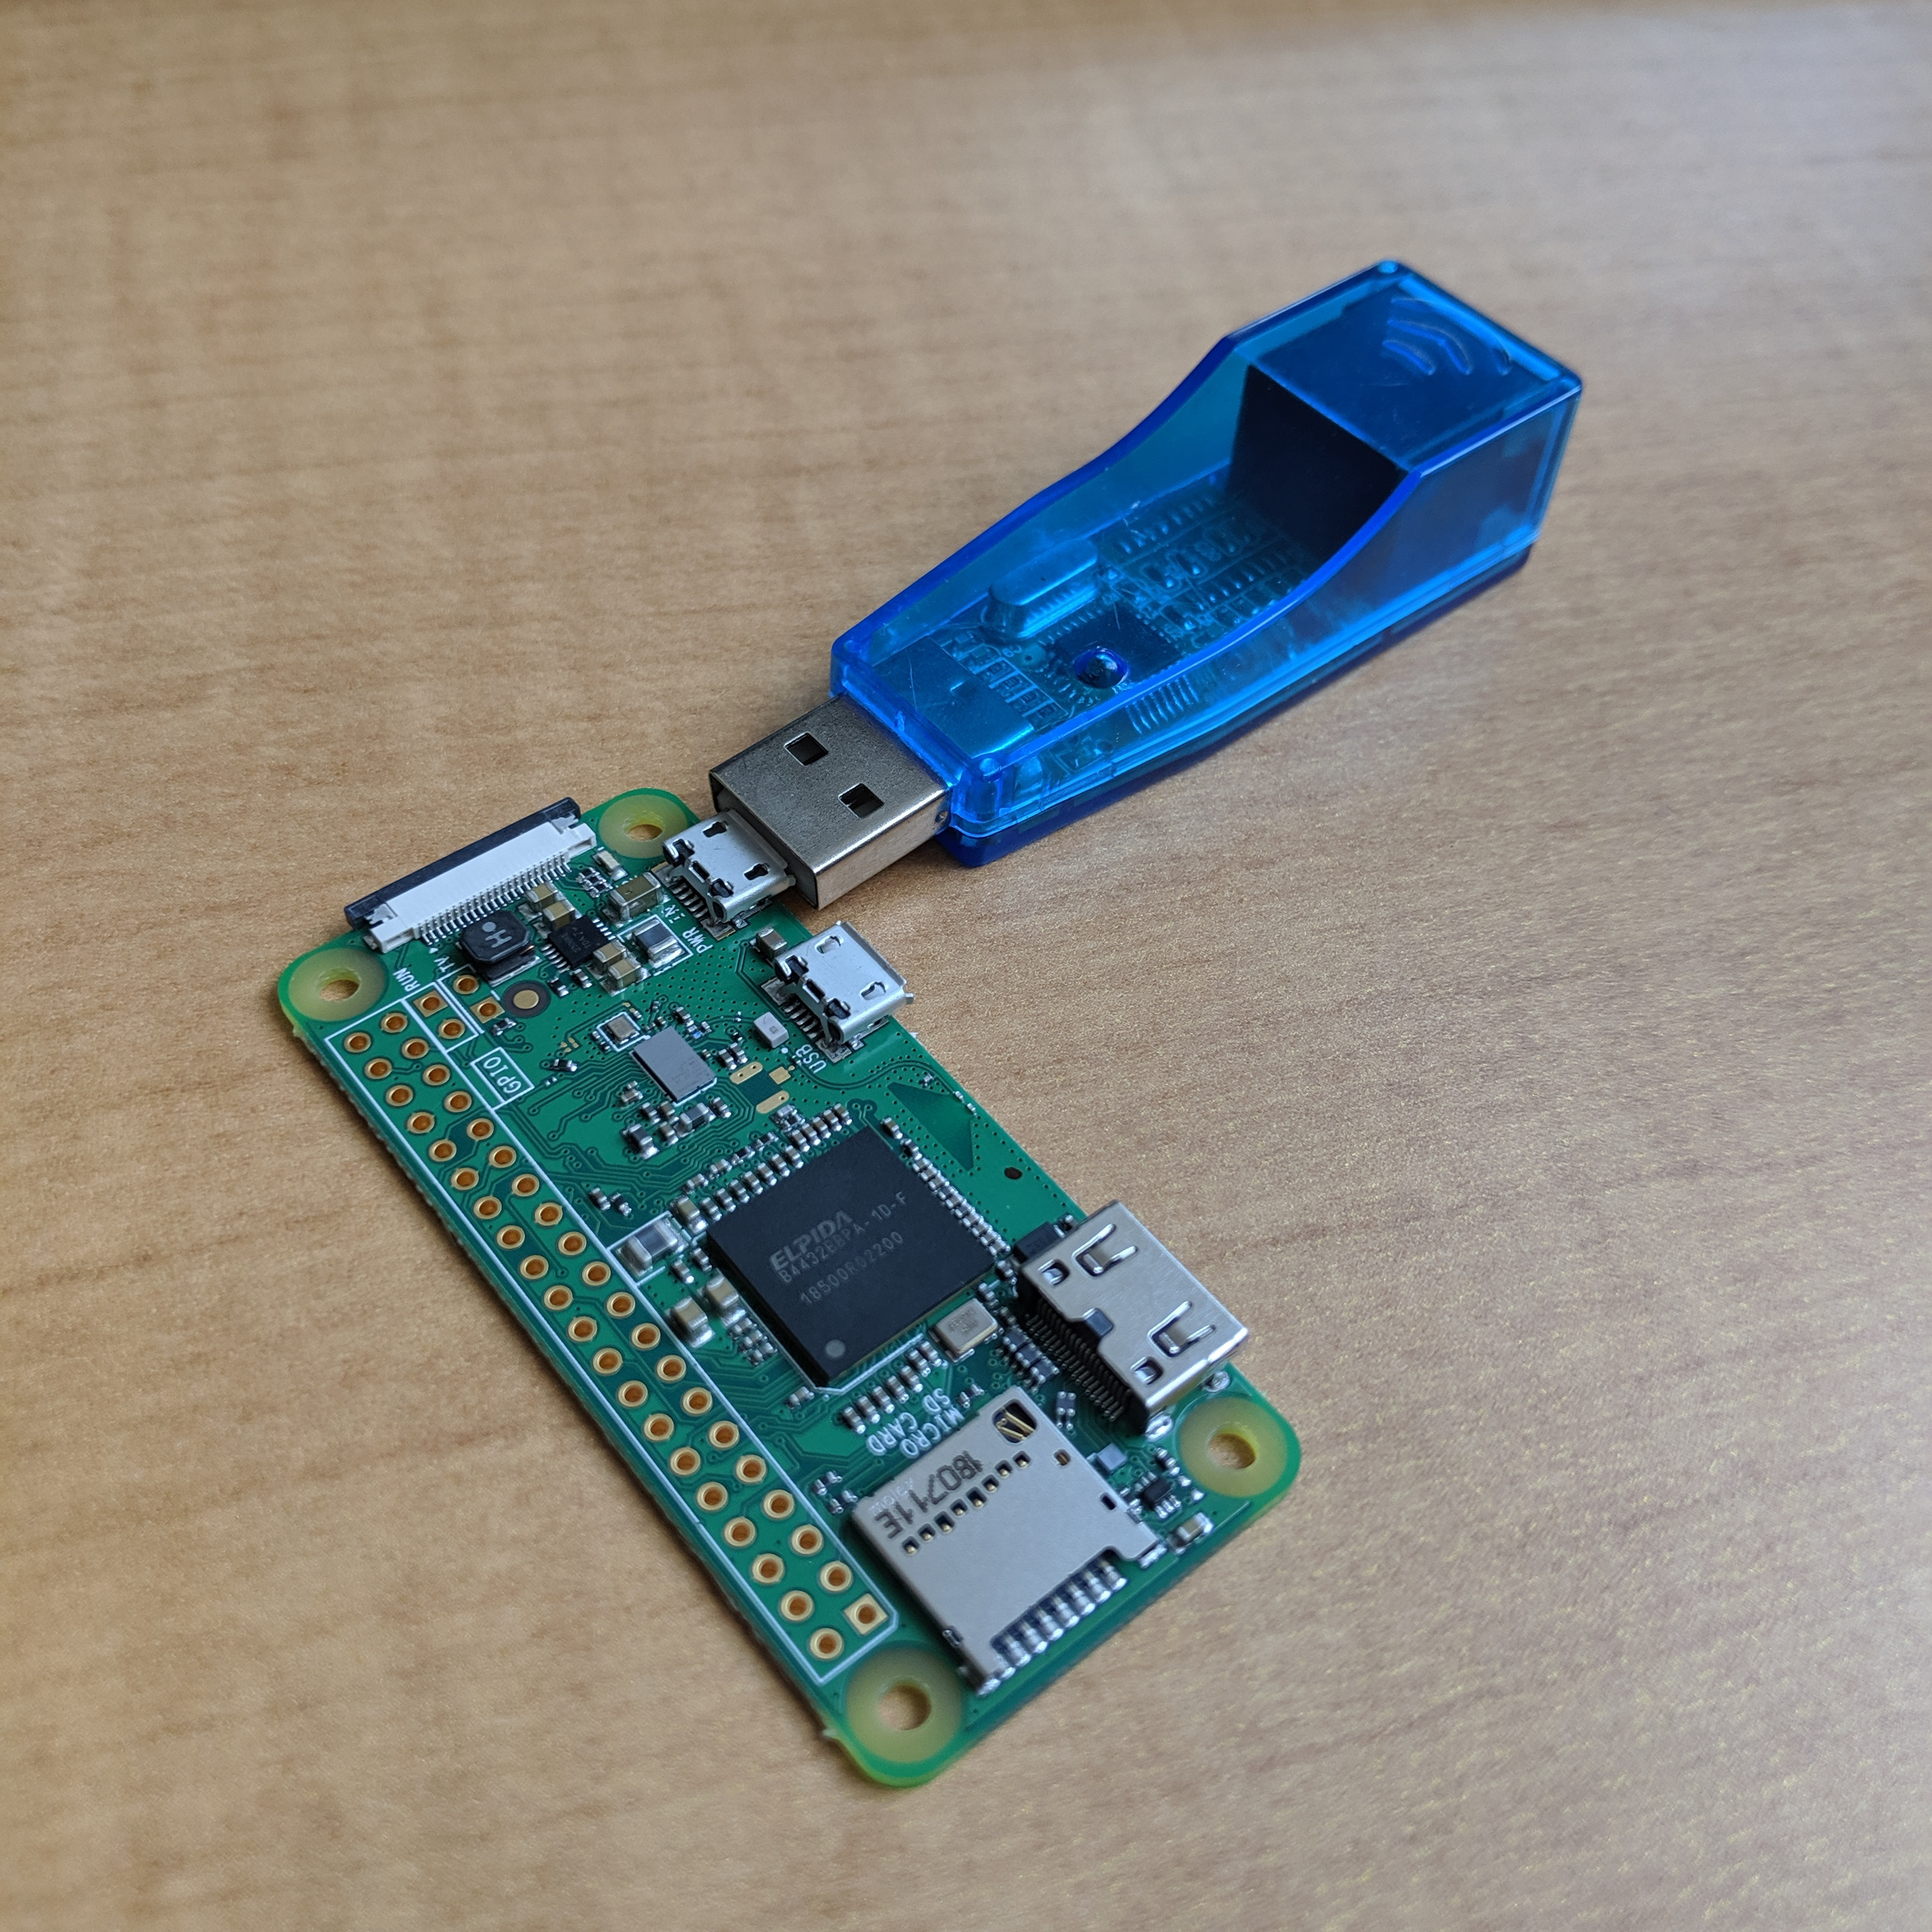
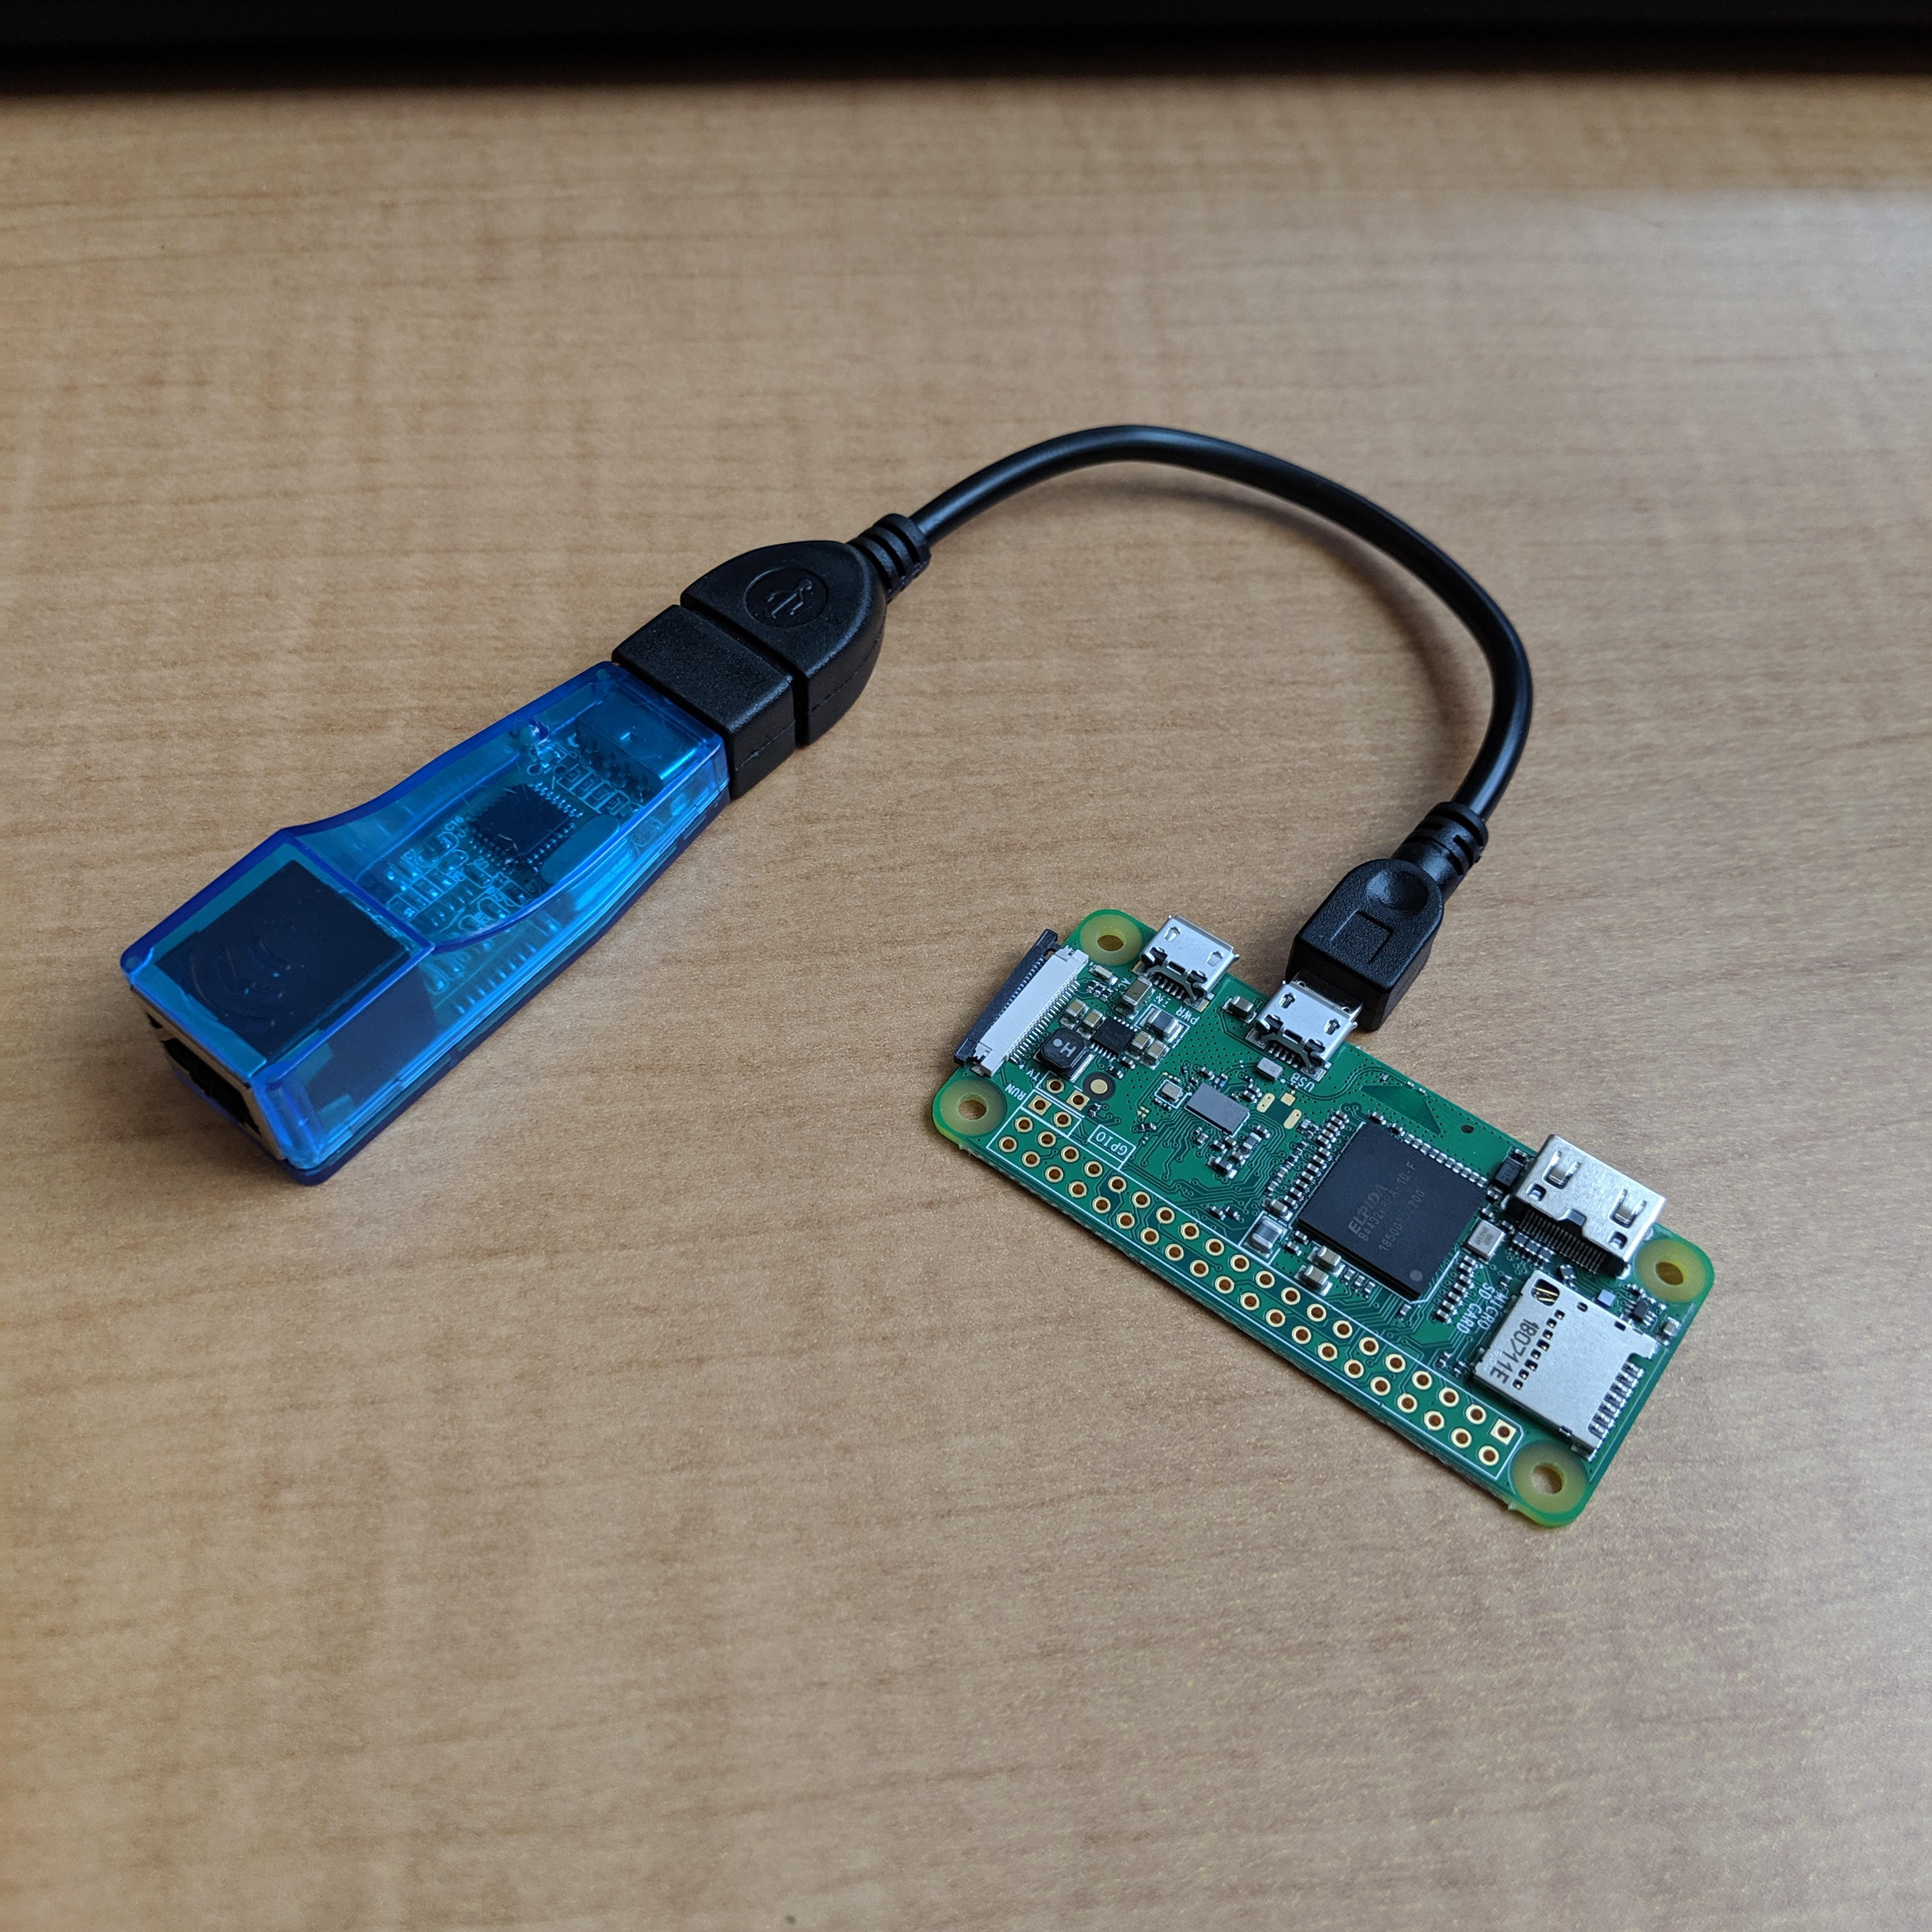
Unfortunately I didn't have a USB-OTG cable on me at the time, and dealing with getting ethernet over USB working seemed like a separate problem I didn't want to take on. Perhaps the default Raspbian software works out of the box on this? Go ahead and try, but I like my raspberry pis wireless, TYVM.
So I instead, (2) applied a quick fix which would get apt talking with the server by manually changing the time on the system.
sudo su
timedatectl set-ntp False
timedatectl set-time '2025-07-18 19:51:01' # "YYYY-MM-DD HH:MM:SS" format
date
2025-07-18 19:51:03And subsequently apt update and upgrade were able to contact the servers and update all software as necessary.
sudo su
apt update && apt upgrade
echo $?Hit:1 http://raspbian.raspberrypi.org/raspbian buster InRelease Hit:2 http://archive.raspberrypi.org/debian buster InRelease Reading package lists... Building dependency tree... Reading state information... 1 package can be upgraded. Run 'apt list --upgradable' to see it. Reading package lists... Building dependency tree... Reading state information... Calculating upgrade... The following packages will be upgraded: patch 1 upgraded, 0 newly installed, 0 to remove and 0 not upgraded. Need to get 115 kB of archives. After this operation, 4,096 B of additional disk space will be used. Do you want to continue? [Y/n] Y Get:1 http://raspbian.raspberrypi.org/raspbian buster/main armhf patch armhf 2.7.6-3+deb10u1 [115 kB] apt-listchanges: Reading changelogs... Fetched 115 kB in 0s (325 kB/s) (Reading database ...) (Reading database ... 5%) (Reading database ... 10%) (Reading database ... 15%) (Reading database ... 20%) ... (Reading database ... 90%) (Reading database ... 95%) (Reading database ... 100%) (Reading database ... 52078 files and directories currently installed.) Preparing to unpack .../patch_2.7.6-3+deb10u1_armhf.deb ... Unpacking patch (2.7.6-3+deb10u1) over (2.7.6-3) ... Setting up patch (2.7.6-3+deb10u1) ... Processing triggers for man-db (2.8.5-2) ... 0If the return code of the apt upgrade at the end of the output was zero (due to the
echo $? command), then the command did not
exit abnormally.
Fixing wpa_supplicant bug with Buster
The current version of Buster is unable to connect to WPA2/Enterprise networks, such as eduroam and other Company and University WiFi networks. This is issue is being discussed on the Raspberry Pi Forums, has a downstream bug tracker issue, as well as an upstream fix in the corresponding upstream linux project for wpa_supplicant on all distributions.
Software maintenance discussions aside, I decided to get around this particular issue the old fashioned way: by reverting binaries on a live system to older versions of functioning binaries. This WiFi issue was a regression when moving from Stretch to Buster.
Older binaries of wpa_supplicant
On the Pi, the wpa_supplicant binary can be found in/sbin/wpa_supplicant.
With the readelf tool we can figure out what shared libraries need to be copied over from a Stretch image
to our live Buster image on our Raspberry Pi. Namely:
readelf -d /sbin/wpa_supplicantDynamic section at offset 0x2224e4 contains 37 entries: Tag Type Name/Value 0x00000001 (NEEDED) Shared library: [librt.so.1] 0x00000001 (NEEDED) Shared library: [libnl-3.so.200] 0x00000001 (NEEDED) Shared library: [libnl-genl-3.so.200] 0x00000001 (NEEDED) Shared library: [libnl-route-3.so.200] 0x00000001 (NEEDED) Shared library: [libdl.so.2] 0x00000001 (NEEDED) Shared library: [libm.so.6] 0x00000001 (NEEDED) Shared library: [libpcsclite.so.1] 0x00000001 (NEEDED) Shared library: [libssl.so.1.1] 0x00000001 (NEEDED) Shared library: [libcrypto.so.1.1] 0x00000001 (NEEDED) Shared library: [libdbus-1.so.3] 0x00000001 (NEEDED) Shared library: [libc.so.6] 0x00000001 (NEEDED) Shared library: [ld-linux-armhf.so.3] 0x0000000c (INIT) 0x1811c 0x0000000d (FINI) 0x1ab060 0x00000019 (INIT_ARRAY) 0x242490 0x0000001b (INIT_ARRAYSZ) 4 (bytes) 0x0000001a (FINI_ARRAY) 0x242494 0x0000001c (FINI_ARRAYSZ) 4 (bytes) 0x6ffffef5 (GNU_HASH) 0x101b4 0x00000005 (STRTAB) 0x13dd8 0x00000006 (SYMTAB) 0x115d8 0x0000000a (STRSZ) 10572 (bytes) 0x0000000b (SYMENT) 16 (bytes) 0x00000015 (DEBUG) 0x0 0x00000003 (PLTGOT) 0x242634 0x00000002 (PLTRELSZ) 4984 (bytes) 0x00000014 (PLTREL) REL 0x00000017 (JMPREL) 0x16da4 0x00000011 (REL) 0x16d64 0x00000012 (RELSZ) 64 (bytes) 0x00000013 (RELENT) 8 (bytes) 0x0000001e (FLAGS) BIND_NOW 0x6ffffffb (FLAGS_1) Flags: NOW 0x6ffffffe (VERNEED) 0x16c24 0x6fffffff (VERNEEDNUM) 8 0x6ffffff0 (VERSYM) 0x16724 0x00000000 (NULL) 0x0The above output is for the version of wpa_supplicant on Raspbian Stretch. In comparison, we see that the red enteries below of shared libraries (for Raspbian Buster output) for wpa_supplicant indicate that we need to copy over old versions of the SSL and Crypto libraries in addition to that version of wpa_supplicant, totaling three files.
Dynamic section at offset 0x19c73c contains 35 entries:
  Tag        Type                         Name/Value
 0x00000001 (NEEDED)                     Shared library: [librt.so.1]
 0x00000001 (NEEDED)                     Shared library: [libnl-3.so.200]
 0x00000001 (NEEDED)                     Shared library: [libnl-genl-3.so.200]
 0x00000001 (NEEDED)                     Shared library: [libdl.so.2]
 0x00000001 (NEEDED)                     Shared library: [libpcsclite.so.1]
 0x00000001 (NEEDED)                     Shared library: [libssl.so.1.0.2]
 0x00000001 (NEEDED)                     Shared library: [libcrypto.so.1.0.2]
 0x00000001 (NEEDED)                     Shared library: [libdbus-1.so.3]
 0x00000001 (NEEDED)                     Shared library: [libc.so.6]
 0x00000001 (NEEDED)                     Shared library: [ld-linux-armhf.so.3]
And so I was able to fix the WiFi issue by running something like the following commands to pull older binaries taken from the Raspbian Stretch image:
sudo su
[ ! -e /sbin/wpa_supplicant.old ] && mv /sbin/wpa_supplicant /sbin/wpa_supplicant.old
curl -o /sbin/wpa_supplicant https://cronburg.com/2019/raspberry-pi-wifi/wpa_supplicant
export FILE=libssl.so.1.0.2;    curl -o /usr/lib/arm-linux-gnueabihf/$FILE https://cronburg.com/2019/raspberry-pi-wifi/$FILE
export FILE=libcrypto.so.1.0.2; curl -o /usr/lib/arm-linux-gnueabihf/$FILE https://cronburg.com/2019/raspberry-pi-wifi/$FILE